OpenAI
Configure OpenAI GPT-5.2, GPT-4o, o1, o3-mini, and other models.
Welcome to Askimo App! This guide will help you configure AI providers to start using the application.
After installing Askimo App, you’ll need to configure at least one AI provider to start chatting.
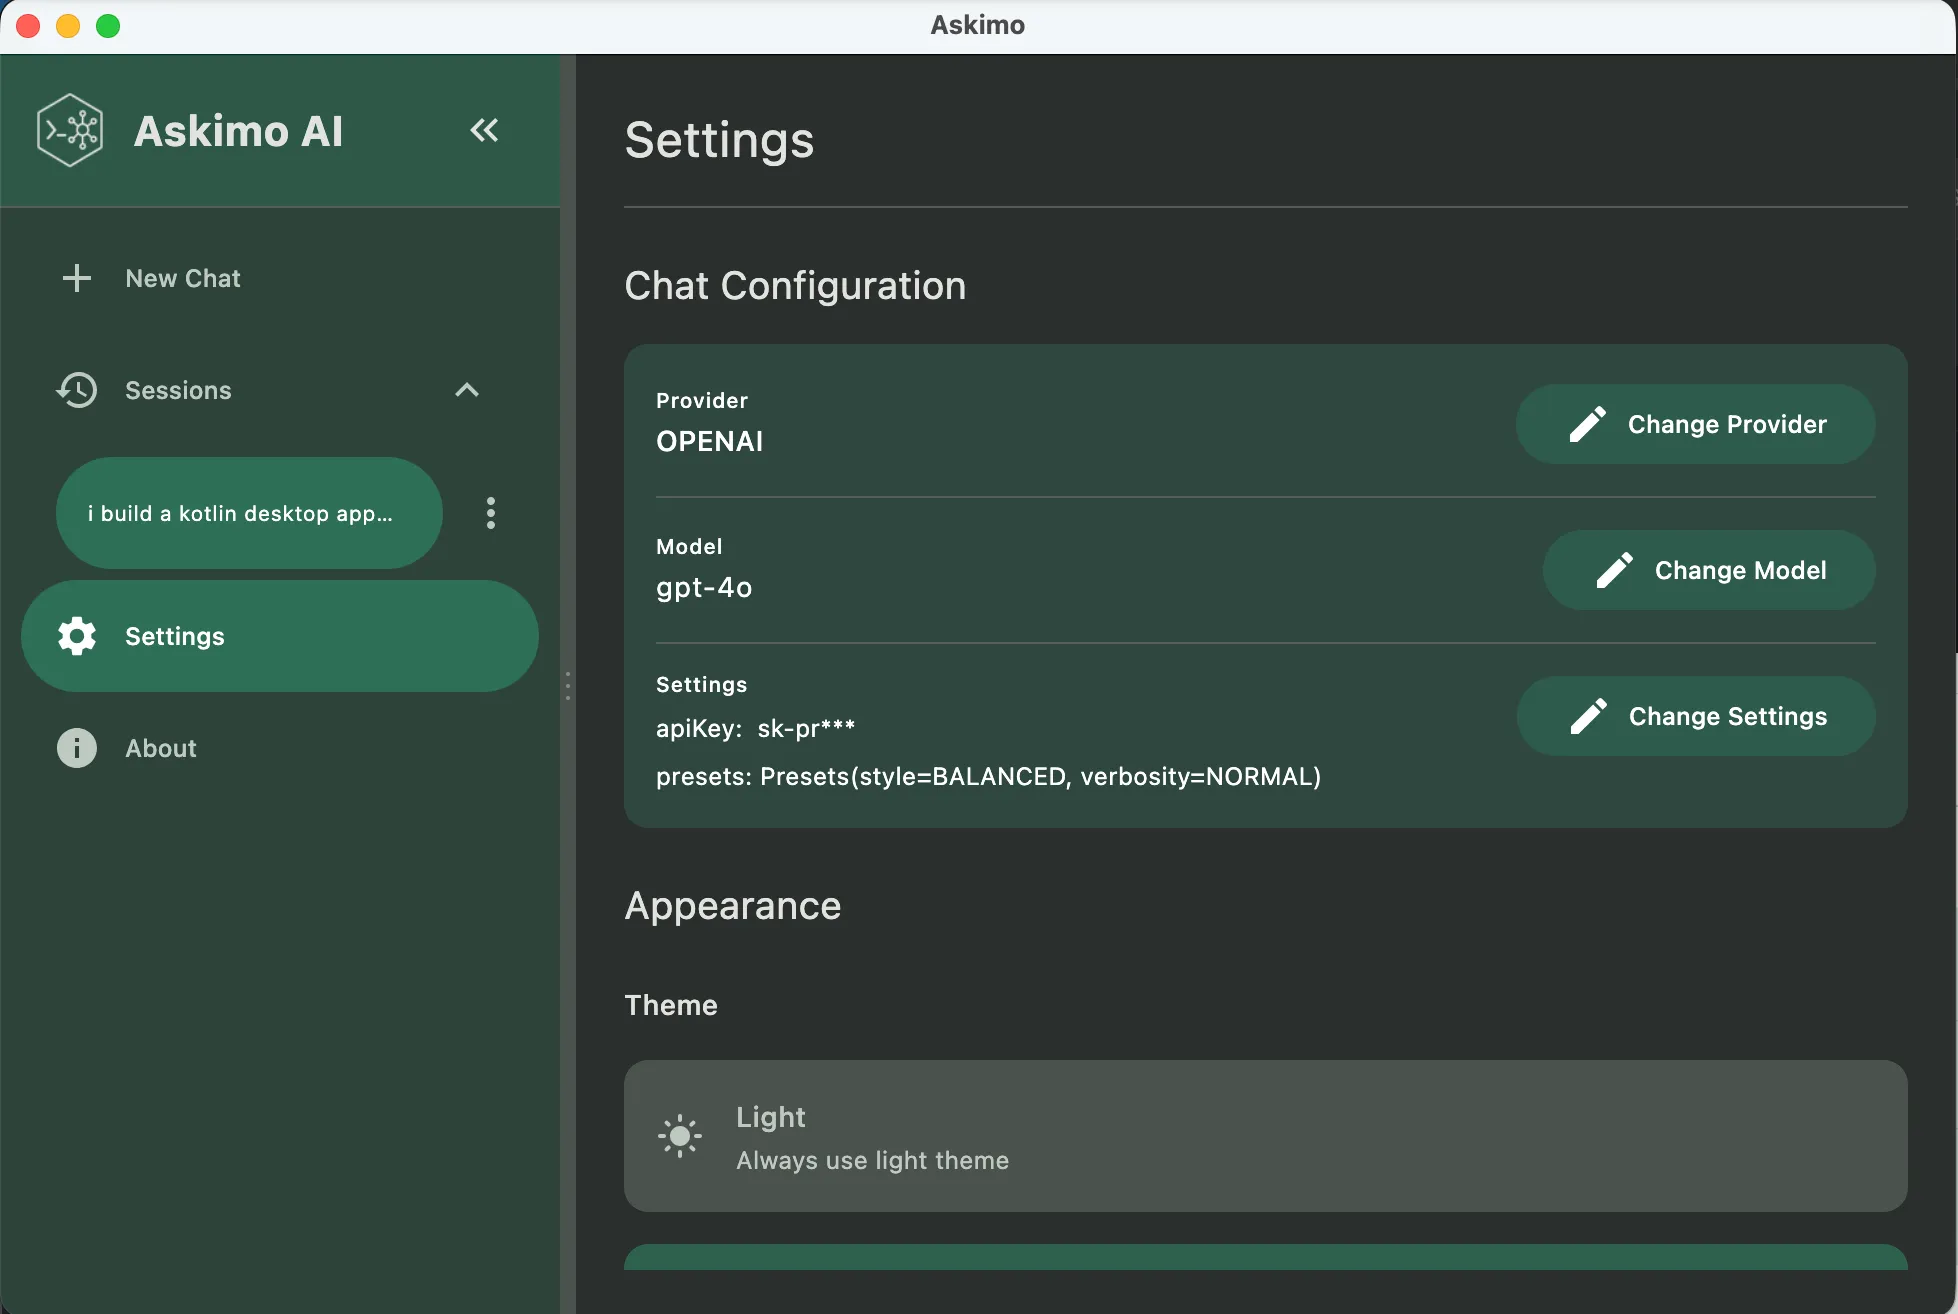
⌘ + , then click “AI Providers”Ctrl + , then click “AI Providers”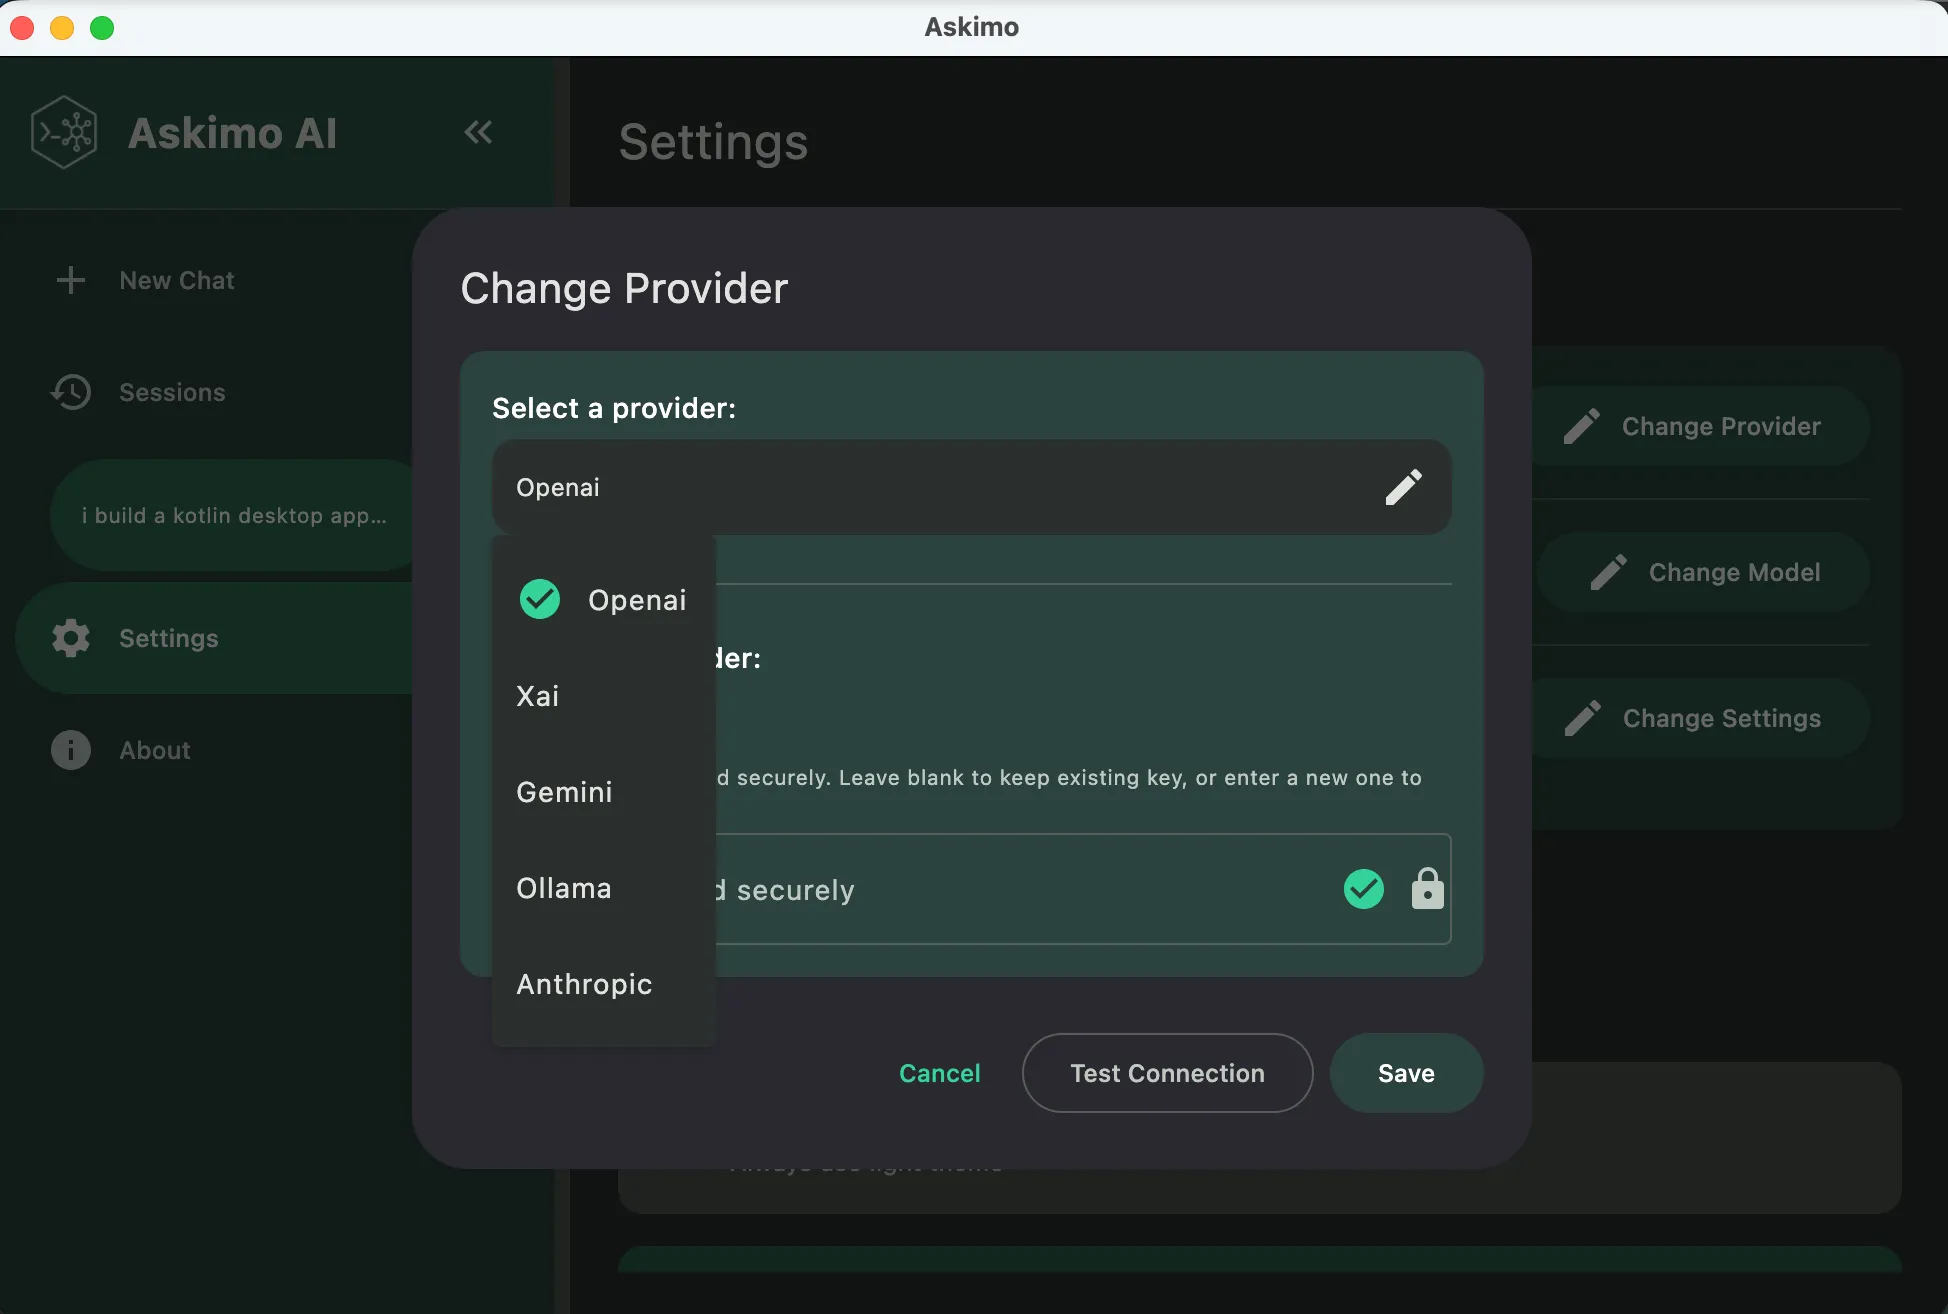
Choose from cloud-based or local AI providers based on your needs:
OpenAI
Configure OpenAI GPT-5.2, GPT-4o, o1, o3-mini, and other models.
Anthropic Claude
Set up Claude 3.5 Sonnet and Haiku for advanced reasoning.
Google Gemini
Configure Gemini 2.0 Flash, 1.5 Pro, and other Google AI models.
xAI (Grok)
Connect to xAI’s Grok models for cutting-edge AI.
Ollama
Run AI models locally with complete privacy and offline access.
LM Studio
Professional local AI model management with GPU acceleration.
LocalAI
Self-hosted AI server for enterprise and privacy-critical workloads.
Docker AI
Containerized AI models from Docker Hub for DevOps workflows.
OpenAI, Claude, Gemini, xAI
✅ Pros:
❌ Cons:
Ollama, LM Studio, LocalAI, Docker AI
✅ Pros:
❌ Cons:
Once you’ve configured at least one provider, you’re ready to start!
⌘/Ctrl + NEnter to sendGeneral Questions:
Give me ideas for a trip to San Francisco next weekCode Assistance:
Can you help me write a Python function to calculate fibonacci numbers?Writing Help:
Help me write a professional email to request time offDevOps Tasks:
Explain how to set up a CI/CD pipeline with GitHub ActionsOne of Askimo App’s key features is the ability to use multiple AI models seamlessly: